CellarPass Help Center
Get quick answers to common questions
Properly Communicating Business Closures Tips & Tricks
Updated over a week ago
When you must close down your availability, follow these best practices to ensure you properly communicate to your guests.

Hospitality Professional Tips & Tricks: Properly Communicating Business Closures
This article is written with the intended audience being our business account users. Don't have a CellarPass business account, register for one! Click here
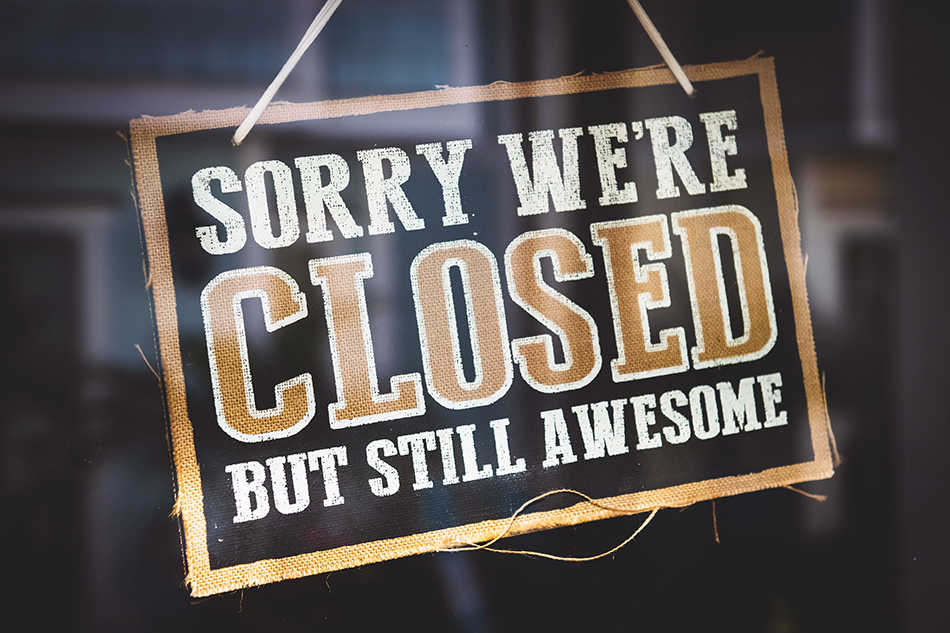
When your business is mandated by local or statewide officials to close your business (think extreme weather event or loss of power), we wanted to let you know that we're here to help. There is an easy way to shut down your reservations availability, and there's some methods that you can turn your frown upside and make yourself still available despite perhaps at a reduced capacity.
We do not recommend marking your reservation events "Private" as this will not allow any bookings for any future dates.
Creating Business Closures (AKA Holidays)
For no additional fee, we can execute a database script on your behalf to create a series of Holidays, eliminating any further steps in order to close your availability in your CellarPass business account. Please submit a support ticket with clear details on the date range of your closure and your property name, memberID and your emergency contact information.
For those that want to make these changes manually day-by-day, it's very easy to close your availability off for a single day. This is done via the CellarPass admin panel in Settings, Holiday Manager.
To perform a single-day closure of your reservation availability.
NOTE: To perform the steps below, you will need to be logged in with Admin-level privilege.
- Log into the CellarPass admin panel by going to https://www.cellarpass.com/manage
- Click Settings.
- Click Holiday Manager.
- Click Add New Holiday.
- Click the Closed checkbox
- Enter Business Closure or whatever you'd like to reference as the reason for being closed. Note, this is NOT displayed to guests, only admins in the Event Calendar.
- In the Date Observed (Current Year) column enter the date of closure.
- When done, click the blue checkbox to the far left of the entry. Doing so will save your changes.
- For closing for multiple days requires you to repeat the same steps, repeat Steps 4 - 8 for any other dates.
Spinning Closures Into the Positive
We have many clients requesting ideas on how to spin closures into something positive and we've got the perfect solution for you- Curbside Delivery Appointments.
- Design your curbside delivery sale promotion. Make sure you clearly communicate that your availability is limited, but open by appointment.
- Create your pick-up availability on CellarPass. We recommend a recurring schedule of every 30 minutes.
- Mark the "Auto" so that you don't have more than one customer showing up at once.
- Set your Booking Lead time to be at least one hour.
- Complete the rest of your event configuration in CellarPass, making sure it's setup as a free booking.
- Publish your schedule and let us know about it!
- Launch your digital campaign, newsletter- let everyone know about it.
- Customers place their order and then send them a link to pick their pick up date and time using your CellarPass EventID link. If you need help with this, give us a holler.
- Use CellarPass Guest Link Pro to manage your inbound curbside customers. Be sure to check them in so they get a review invite!
Please share this article with anyone at your business as we believe everyone will benefit from this information.
Thanks again for your continued support as work together in this time of need. If there's anything else we can do to assist, please us know (855) 423-4448.